Order your custom enamel pins and packaging from a friendly and reliable woman-owned business.
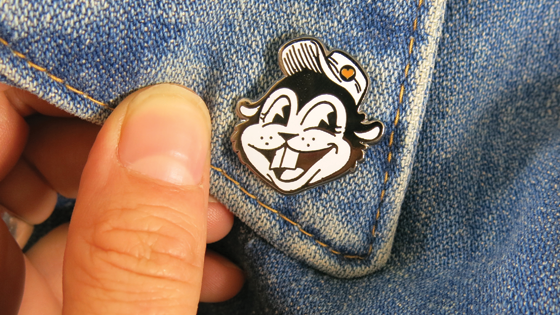
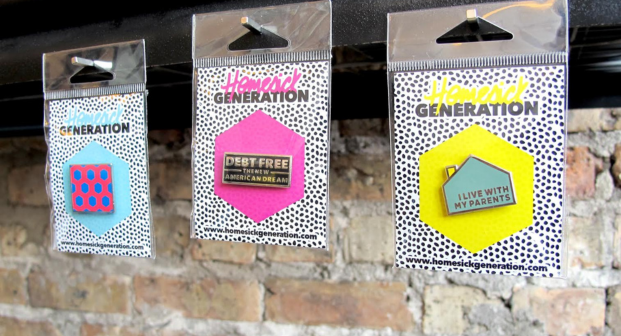
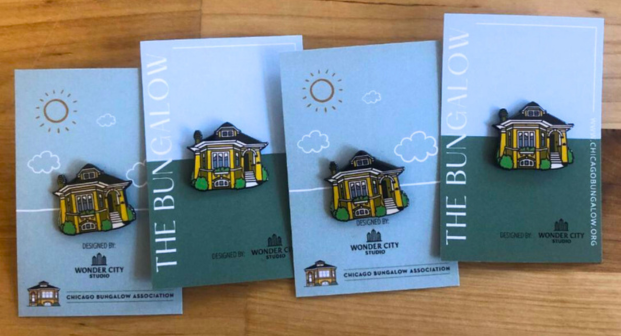
Enamel pins are one of the most popular accessories right now. Cute and affordable, they’re an easy go-to for artists and designers looking to expand their product line. We offer enamel pin backing cards which can give your pins a polished, retail ready look. Contact us today to get lapel pins made! 

How Much Do Enamel Pins Cost?
We can help figure out your custom quote! The best price breaks typically start out at orders of 250 pieces though we can fulfill orders of 50 if you are looking for a small batch. Check out some examples of pricing below:250 x 1" Soft Enamel Pins starting at 2.38 ea
500 x 1" Soft Enamel Pins starting at 2.16 ea
1,000 x 1" Soft Enamel Pins starting at 1.90 ea
250 x 1" Hard Enamel Pins starting at 2.63 ea
500 x 1" Hard Enamel Pins starting at 2.41 ea
1,000 x 1" Hard Enamel Pins starting at 2.08 ea
Design elements like the number of colors, the complexity of artwork, and the size can all affect the price! Also, there is a price difference between hard and soft enamel.
Something to note: exact reorders are easier on your wallet because you don't have to pay the die charge again since it will already have been created and can be reused!
Expert Advice To Make The Perfect Customized Pin!
We've put together all our enamel pin resources to help you plan out your next order, from design help, to inspiration for pin backing cards and everything in between. Explore our guides and let us help you put together the PERFECT PINS!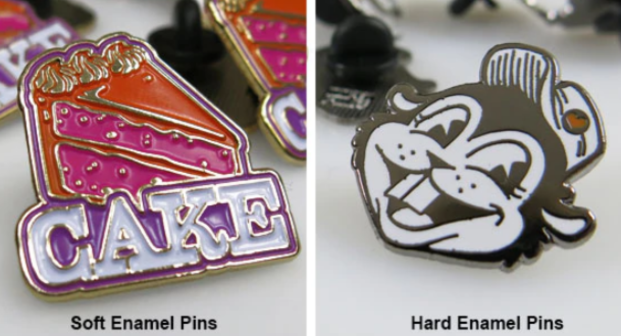
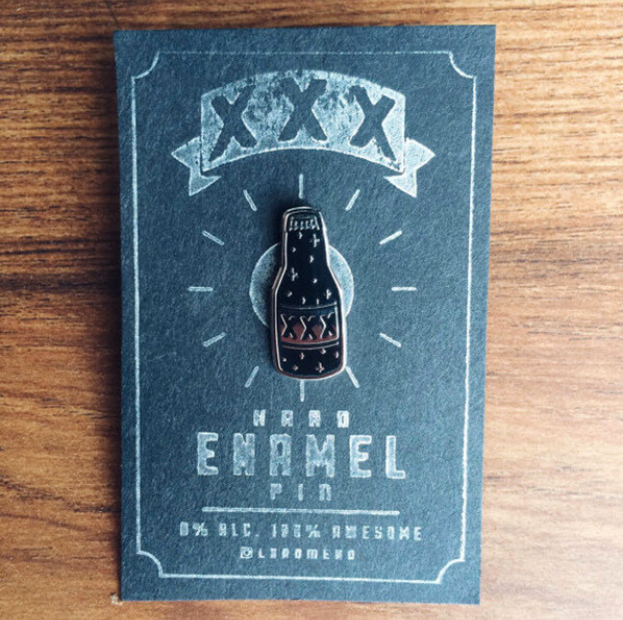
Hard vs Soft Enamel Pins
If you're an avid collector or just getting started, chances are you've stumbled upon the debate of hard enamel pins versus soft enamel pins. Fear not, pin lover! We've put together a easy, fun and insightful guide to help you make an informed decision about which type of pin suits your style.Explore The World Of Enamel Pins! >
Enamel Pin Packaging Ideas
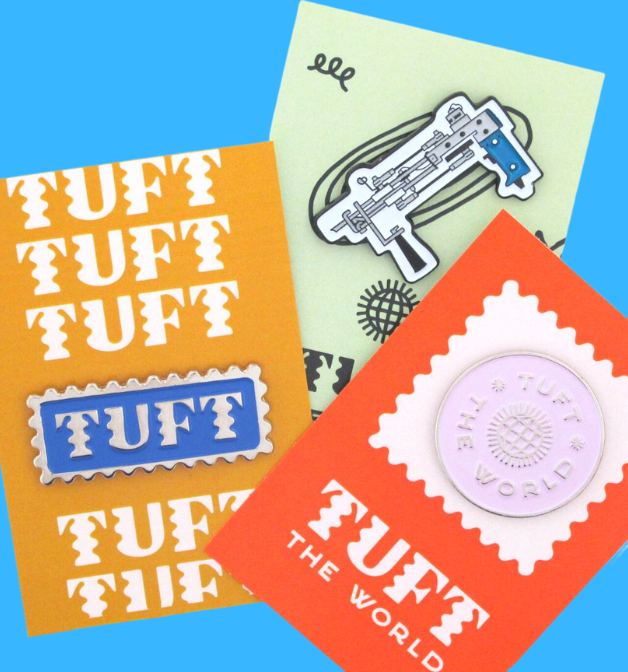
Creative enamel pin packaging will make your pins stand out and really seal the deal on your next sale. Since enamel pin packaging isn't very different from packaging your classic pinback buttons, we've come up with 5 ways to take your lapel pin packaging to the next level!Check Out Our Enamel Pin Packaging Ideas! >
How To Make Enamel Pins
So you want your own cool custom pins, but you don’t know how to make enamel pins or where to get started? No worries-- we’re here to help! We’ve put together this comprehensive custom enamel pins guide to help you through the entire process, including how to make pin backing cards. Now you can become a pin expert, too!Read Our Perfect Pin Guide! >
How To Use Enamel Pins
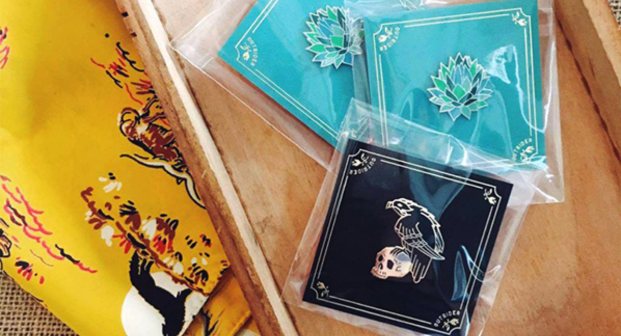
Enamel pins are a great way to commemorate events with a completely personalized product. Check out how some of our cool customers like yourself have used their custom pins to spark ideas for your own order!Get Inspired Now! >
Take inspiration from your favorite lapel pin maker and get started on your own custom made enamel pins.
Enamel Pin FAQ
How long does it take to make enamel pins?Enamel pins take about 4-6 weeks to turnaround and adding backer cards for pins can increase the production time. Make sure to plan out your timeline!
Can I get a digital proof for my enamel pins?
Absolutely! We recommend it, in fact. Digital proofs for enamel pins will be created after your order is in and paid for but don't worry, nothing will go into the production stage until you give your thumbs up on the virtual. This means if there are any errors or questions you have about the artwork, it can be spotted prior to production and adjusted until you are happy to move forward to the next stage.
Can I get a physical sample made?
Physical samples are available for an additional charge. Physical samples are a great way to make sure you will definitely be happy with the full order before you receive it. Pre-production samples can add additional time to your turnaround, up to 2-3 weeks.
Request A Custom Enamel Pin Quote
Please fill out this form and we will be in touch within 2 business hours.